


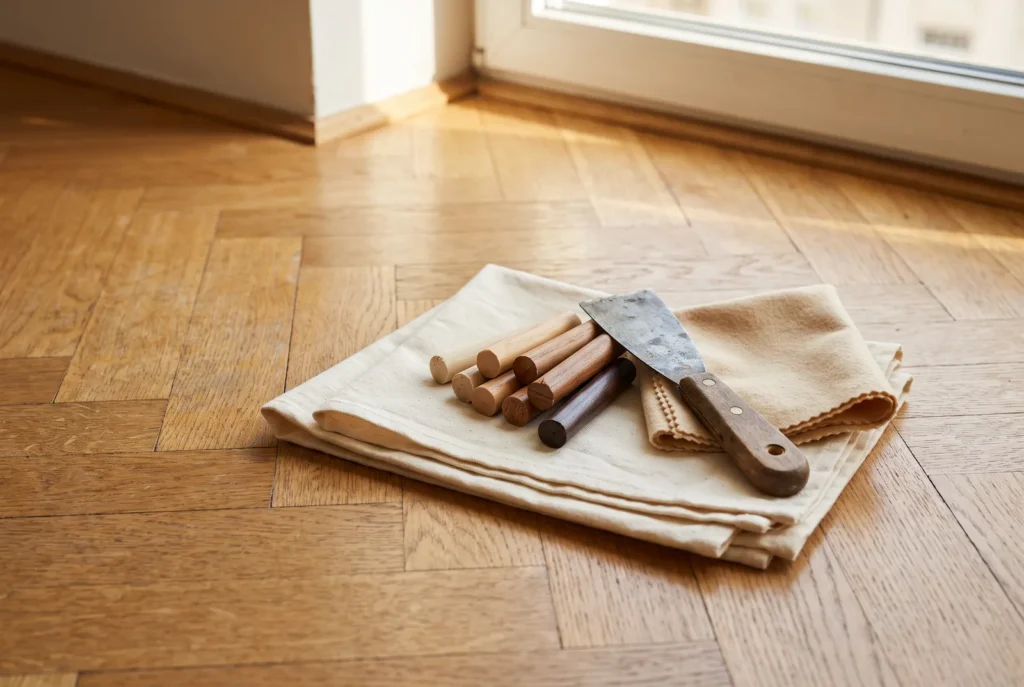
A mark on a new floor makes you want to redo everything. In the vast majority of cases the repair is local, quick and invisible. You just have to identify the right level of damage, because the method is not the same.
Diagnosis: run a fingernail over it
The test takes two seconds and determines everything else.
- The nail does not catch → the mark is in the finish only. Level 1.
- The nail catches slightly → the finish is breached, the wood is grazed. Level 2.
- The nail goes in, or the wood is dented, split, blackened → Level 3.
Level 1 — the mark is in the finish
On an oiled floor: the simplest case. Rub the area with a white pad and a little maintenance oil in the matching tone, along the grain, let it penetrate for twenty minutes, wipe off the excess. The mark disappears. This is the great advantage of oil.
On a lacquered floor: a superficial scratch in the film can be softened with a lacquer renovator. It will not always disappear entirely — the film does not reconstitute itself.
The particular case of black marks left by rubber soles: that is not a scratch but a deposit. A white eraser or a slightly damp melamine sponge removes them without touching the finish.
Level 2 — the wood is grazed
Two solutions depending on depth.
- Hard repair wax, sold in sticks in several tones. Melt it slightly, run it into the scratch, level with a plastic spatula and burnish. Ten minutes, and the result is very good if the tone is well chosen — blend two sticks rather than taking one that is merely close.
- Local sanding, reserved for oiled floors: grit 150 then 220 on the area only, feathered out, then re-oil. On a lacquered floor, do not sand locally: the lacquer patch leaves a visible halo.
The dent: a mark in hollow
A dropped pan leaves an imprint without removing material — the fibres are compressed. On a surface that is not sealed with a film, they can often be raised again:
- Lay a damp cotton cloth over the mark.
- Apply a warm iron for a few seconds, keeping it moving.
- The steam swells the crushed fibres and the mark partly rises.
- Let it dry for 24 h, then redo the finish locally.
This works on an oiled floor. On a lacquered one the heat risks blooming the lacquer: test inside a cupboard first.
Level 3 — replacing a board
Necessary when the wood is split, swollen by a leak, burnt or holed through.
On a floating click floor: if the board is near a wall, the cleanest route is to take off the skirtings and unclick the rows back to it, then reassemble. Long, but reversible.
On a glued floor, or in the middle of a room: the board is cut out in place. Drill a line of holes down the centre, join them with a plunge saw set to the exact thickness, remove the core then the edges. On the new board, plane off the lower lip of the groove so it can be dropped in flat, and glue it. This work demands precision: on a floor you care about, a professional does it in an hour.
The condition that makes all this possible
You can only replace a board if you have wood from the same batch. An order placed three years later will have a slightly different tone, assuming the reference still exists. That is exactly why we recommend keeping a reserve pack.
Store it flat, in a heated room of the home — not in the garage.
When to do nothing
A wooden floor accumulates small marks, and that is what gives it its character after ten years. Repairing every trace as it appears produces a patchwork of touch-ups more visible than the marks themselves. Deal with clean accidents, let the patina happen.