


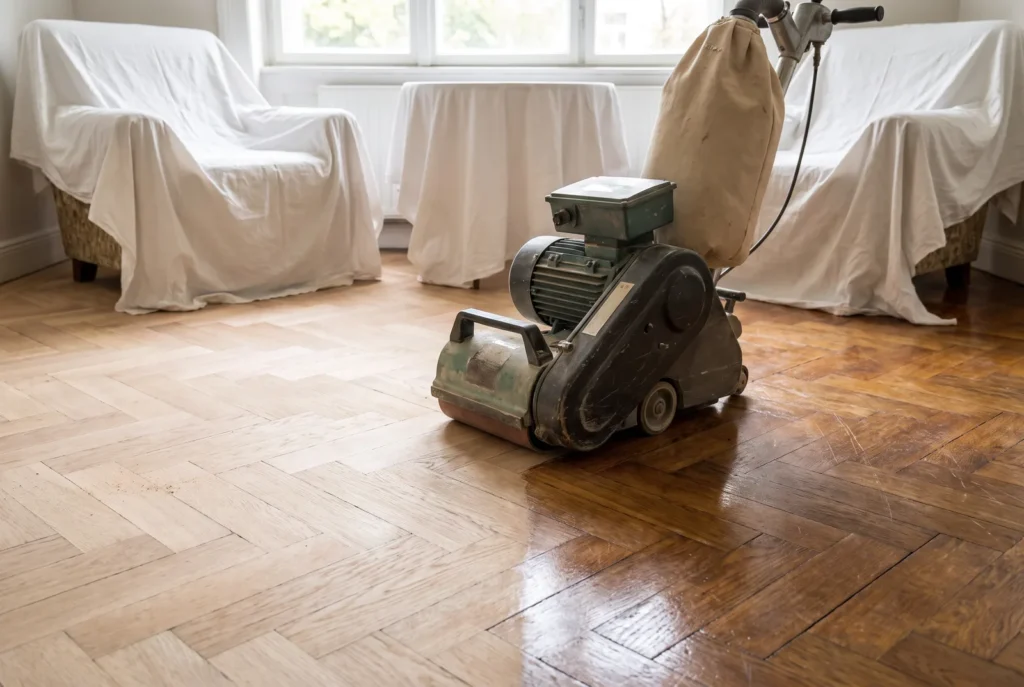
Renovating a wooden floor yourself is one of the rare jobs where the price gap with a professional is very large and the result, done properly, is identical. It is also a job where a mistake shows for twenty years. Here is the method and the traps.
First: can your floor take a sanding?
Check this before hiring anything. A sanding removes between 0.5 and 1.5 mm of wood. If nail heads are showing, or if the substrate core appears on an engineered board, the answer is no.
The equipment
- A floor sander — hired by the day. Prefer a drum or orbital disc machine to an aggressive belt: an uncontrolled belt gouges the wood in seconds.
- An edger for the 10 cm along the walls that the big machine cannot reach.
- A corner scraper.
- Three abrasive grits: 40, 80, 120.
- A workshop vacuum, an FFP2 mask, goggles, ear defenders.
The three passes
- Grit 40 — the cut. Removes the old finish and the marks. Always along the grain, never across it. Keep moving: a machine left running in one spot digs a hollow.
- Grit 80 — evening out. Erases the scratches left by the 40.
- Grit 120 — the finish. Prepares the surface for the lacquer. Do not skip it: too coarse a grit makes the lacquer soak in unevenly.
Vacuum completely between each pass, including the skirtings and the walls. A single grain of 40 left on the floor scratches the whole of the next pass.
The five mistakes that show at the end
- Sanding across the grain. Cross scratches come back through the lacquer and never leave.
- Stopping with the machine running. That digs a dish, visible in raking light.
- Neglecting the edges. An unsanded band along the walls jumps out once the skirtings are back.
- Lacquering a dusty floor. Every speck becomes a hard point in the film.
- Rushing the coats. The lacquer traps the solvent and blooms white.
Lacquering
Allow three coats of water-based polyurethane, applied with a short-pile roller or a floor brush.
- First coat — it is absorbed and will look thin. That is normal.
- A light de-nib at grit 220 between coats, then vacuum and wipe.
- Second and third coats — respect the recoat time given by the manufacturer, usually 2 to 4 hours.
Work between 15 and 25 °C, without draughts, windows shut during application to keep dust out.
Curing: where everyone gets it wrong
The lacquer is touch dry in a few hours, but it is not cured. Full polymerisation takes one to three weeks.
- Walking barefoot: after 24 h.
- Putting the furniture back, carrying it rather than dragging: after 3 to 4 days.
- Putting rugs back: after 3 weeks. A rug laid too early marks the lacquer permanently.
Oil rather than lacquer?
If you are hesitating, note that oil is more forgiving for an amateur: it can be corrected locally, whereas a lacquer defect means re-sanding the whole area. In exchange it needs regular upkeep.