


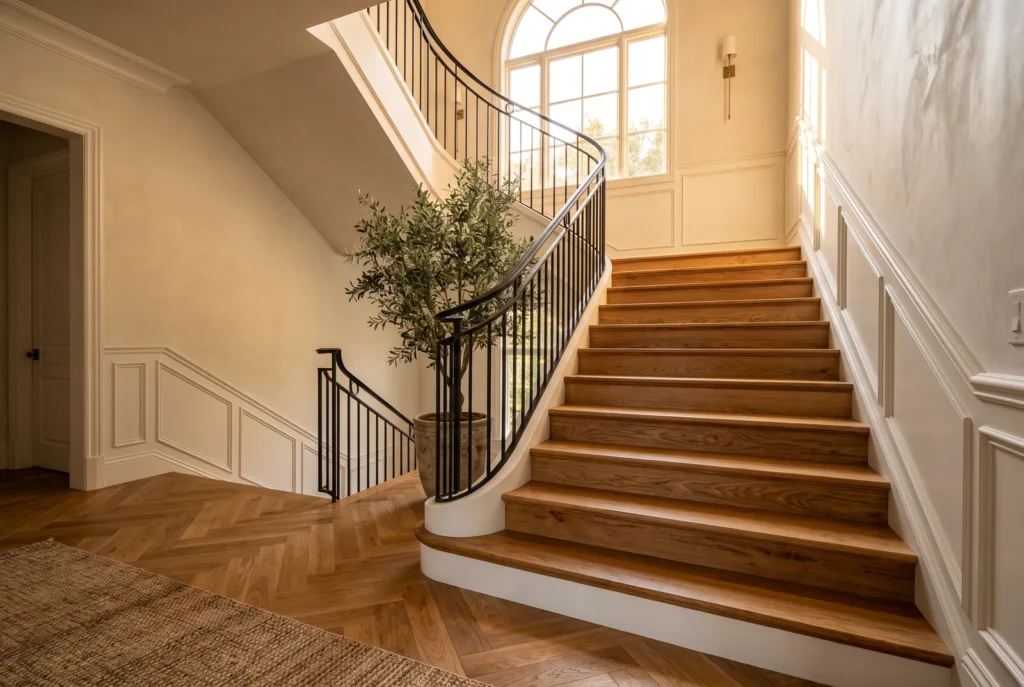
Dressing a staircase with the same wood as the floor gives a continuity that transforms an entrance. It is also the most technical job in the house: every tread is unique, nothing is reversible, and safety comes into it.
Why a tread is not a floor
Three differences determine everything:
- The load bears on the nosing. It is the front edge that takes the weight and the wear, not the centre. A floorboard laid flush would leave a sharp edge that crushes and becomes dangerous.
- Fitting is always glued and screwed. No floating installation is conceivable: a tread that moves underfoot is an accident.
- Riser heights must stay even. Adding 14 mm to the treads without treating the first and last one creates a height difference — the classic cause of falls on a renovated staircase.
The parts required
| Part | Role |
|---|---|
| The tread | The horizontal surface you step on |
| The nosing | Rounded or chamfered profile capping the front edge |
| The riser | The vertical part, optional on an open staircase |
| The strings | The sides, to be dressed if the staircase is closed |
The nosing is the critical part. It exists as a matching profile from most manufacturers; failing that, a joiner machines it from the same timber.
Engineered or solid?
For a staircase, thickness and stability outweigh everything else.
- An engineered board of 14 mm or more works perfectly as a tread, glued onto the existing step. Below 14 mm the board lacks rigidity overhanging the nosing.
- Solid is the traditional choice for a fully rebuilt staircase, but it requires a perfectly dry and stable substrate.
The wear layer matters more here than on a floor: a staircase concentrates all the traffic of the house onto a twenty-centimetre band.
The point everyone forgets: height
Adding 14 mm to each tread changes nothing… except at the top and the bottom.
- The first step becomes 14 mm higher relative to the floor below — unless the floor below receives the same flooring, in which case everything cancels out.
- The last step raises the opposite problem depending on the landing level.
A difference of more than 10 mm between two consecutive steps is felt underfoot and is a genuine fall risk. Measure before, not after.
The fitting sequence
- Strip the old covering back to wood or concrete, and remove every trace of adhesive or carpet.
- Check the soundness of each step. A step that creaks is screwed down beforehand, never after.
- Fit the risers first, working from the top down.
- Glue the nosing then the tread behind it, each step measured individually — a staircase is never perfectly regular.
- Clamp while the polymer adhesive sets.
- Finish with the strings and quadrant beads along the sides.
Allow a day for a straight staircase of thirteen steps, longer with winder steps, each of which is a different trapezium.
Safety
A lacquered wooden staircase is slippery in socks. It is the most frequent feedback after a renovation. Two effective answers:
- A non-slip finish, or a matt rather than satin lacquer.
- Transparent anti-slip strips on the nosing of each step, discreet and effective.
In a home with children or older people, this is not optional.
Doing it yourself?
This is a joiner's job more than a floor layer's. If you are very comfortable with a mitre saw and the staircase is straight, it is feasible. On a turning staircase, or if you have no way to measure an out-of-square angle, have it done: a botched tread cannot be redone, only bought again.
Talk to us about your staircase